This page allows you compare the features of the 2nd, 3rd and 4th Gen AMD EPYC processors (formerly codenamed "Rome", "Milan", and "Genoa" processors). Also includes the "Milan-X", "Genoa-X" and "Bergamo" processors.
Introduction
ThinkSystem servers incorporate AMD EPYC processors to enable critical business workloads and applications. The AMD design provides significant improvement in performance, advanced reliability, scalability and hardware-enhanced security. Enhancements include high core counts and PCIe lane counts, more memory channels, expanded I/O, and improved security. This page allows you compare the features of the processors.
SPEC CPU results: The table includes SPEC CPU results. See the notes below the table regarding the use of this data.
Mainstream field: Processors marked as Mainstream can be configured in DCSC (select Full Mode) or in x-config. For processors marked as Extended, please contact your Lenovo sales representative.
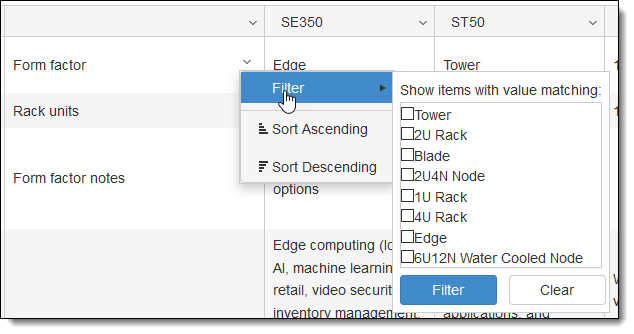
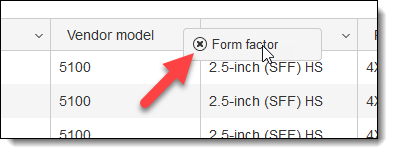
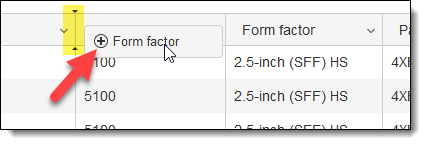
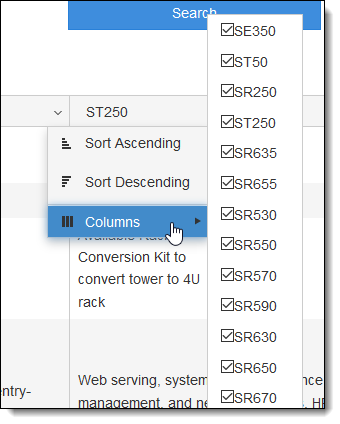
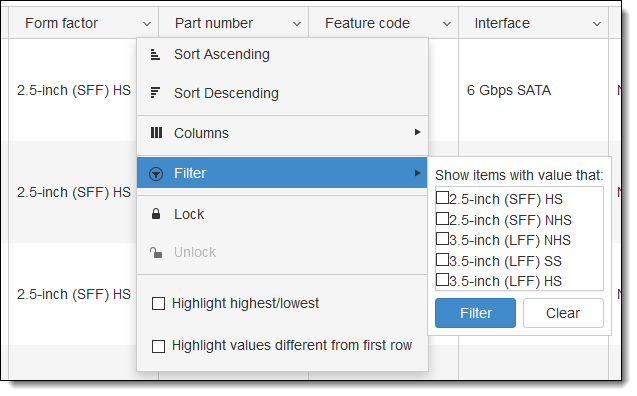
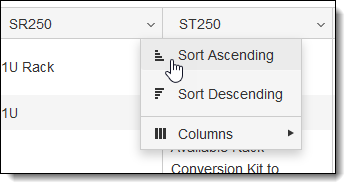
To search: Enter a search term and click Search, or click Add Filter to perform more advanced searching. For information on how to view, rearrange and export the data, click the Help link.
Additional information
SPECcpu2017 results: There are four rows in the table above that list SPEC CPU results, which have been extracted from the SPECcpu results page on spec.org. The results are from the following servers:
- 2nd and 3rd Gen processors: ThinkSystem SR665
- 4th Gen processors: ThinkSystem SR665 V3
The results provide a way to compare the integer and floating point performance of the processors:
- SPECspeed scores are useful for measuring single-threaded compute-intensive applications, such as High Frequency Trading (HFT) and other financial industry workloads.
- SPECrate scores are useful for measuring multi-threaded compute-intensive applications, such as High Performance Computing (HPC) workloads.
Note that these results were published over time and may use a different version of Intel C/C++ Compiler. New compiler versions can improve SPEC CPU scores by 5-10%. Take this into consideration when comparing processor models. You can determine the compiler versions used by reviewing the results on the SPEC results page.
For additional information, see these resources:


